Running Kali Linux with Apple Container on ARM-based Macs
Posted: ⋅ Updated:
Overview
In 2026, Apple computers powered by Apple Silicon handle Kali Linux virtualization really well. That said, in penetration testing scenarios, there are situations when you just need to spin up Kali quickly and use a specific tool without the overhead of launching a full virtual machine.
That’s where containerization comes in. Instead of relying on heavyweight VMs, you can use a much lighter and faster approach. In this post, I’ll walk you through how to set up Apple Container for Kali Linux and create handy aliases, so managing your containers becomes a matter of seconds.
Preparation
First things first, you’ll need to install container and jq. The easiest way to do that is via
Homebrew:
brew update && brew install container jq
Now that we have Apple Container installed, we can move on to setting up the script needed for quick and efficient Kali management.
Script
Configuration of the Kali Linux container:
- CPU allocation: 4
- Memory allocation: 4 GB
- Shared directory mounted between macOS and the container for seamless file access and exchange
Basically, the only thing you need to adjust in the script is the SHARE_PATH variable. Just replace the existing value with the path to a directory on your Mac. This variable defines the shared directory between macOS and the Kali Linux container, and it will serve as the container’s main working directory.
#!/bin/bash

CONTAINER_NAME="kali"
CONTAINER_CPUS="4"
CONTAINER_MEMORY="4096m"
SHARE_PATH="$HOME/share-container"

kali_install() {

  container rm --force $CONTAINER_NAME 2>/dev/null
  container image rm kalilinux/kali-rolling 2>/dev/null
  container run --tty --detach --name $CONTAINER_NAME --volume "$SHARE_PATH:/share" --workdir "/share" --cpus $CONTAINER_CPUS --memory $CONTAINER_MEMORY kalilinux/kali-rolling
  container exec $CONTAINER_NAME sh -c "apt update && apt install -y ca-certificates net-tools git curl vim wget && update-ca-certificates"
  container stop $CONTAINER_NAME

}

kali_start() {

  if [ "$(container inspect $CONTAINER_NAME | jq -r '.[0].status.state')" = "running" ]; then
    container exec --interactive --tty $CONTAINER_NAME /bin/bash
  else
    container start $CONTAINER_NAME --interactive
  fi

}

kali_shell() {

  container exec --interactive --tty $CONTAINER_NAME /bin/bash

}

container system start || true

if [ ! -d "$SHARE_PATH" ]; then
  mkdir -p "$SHARE_PATH"
fi

case "$1" in
  install)
    kali_install
    ;;
  start)
    kali_start
    ;;
  shell)
    kali_shell
    ;;
esac
Save this script as kali-container.sh and place it in a directory of your choice, e.g. ~/Scripts.
Configuration
Aliases
The only thing left to do is create aliases. Below is the list of aliases and what each one does:
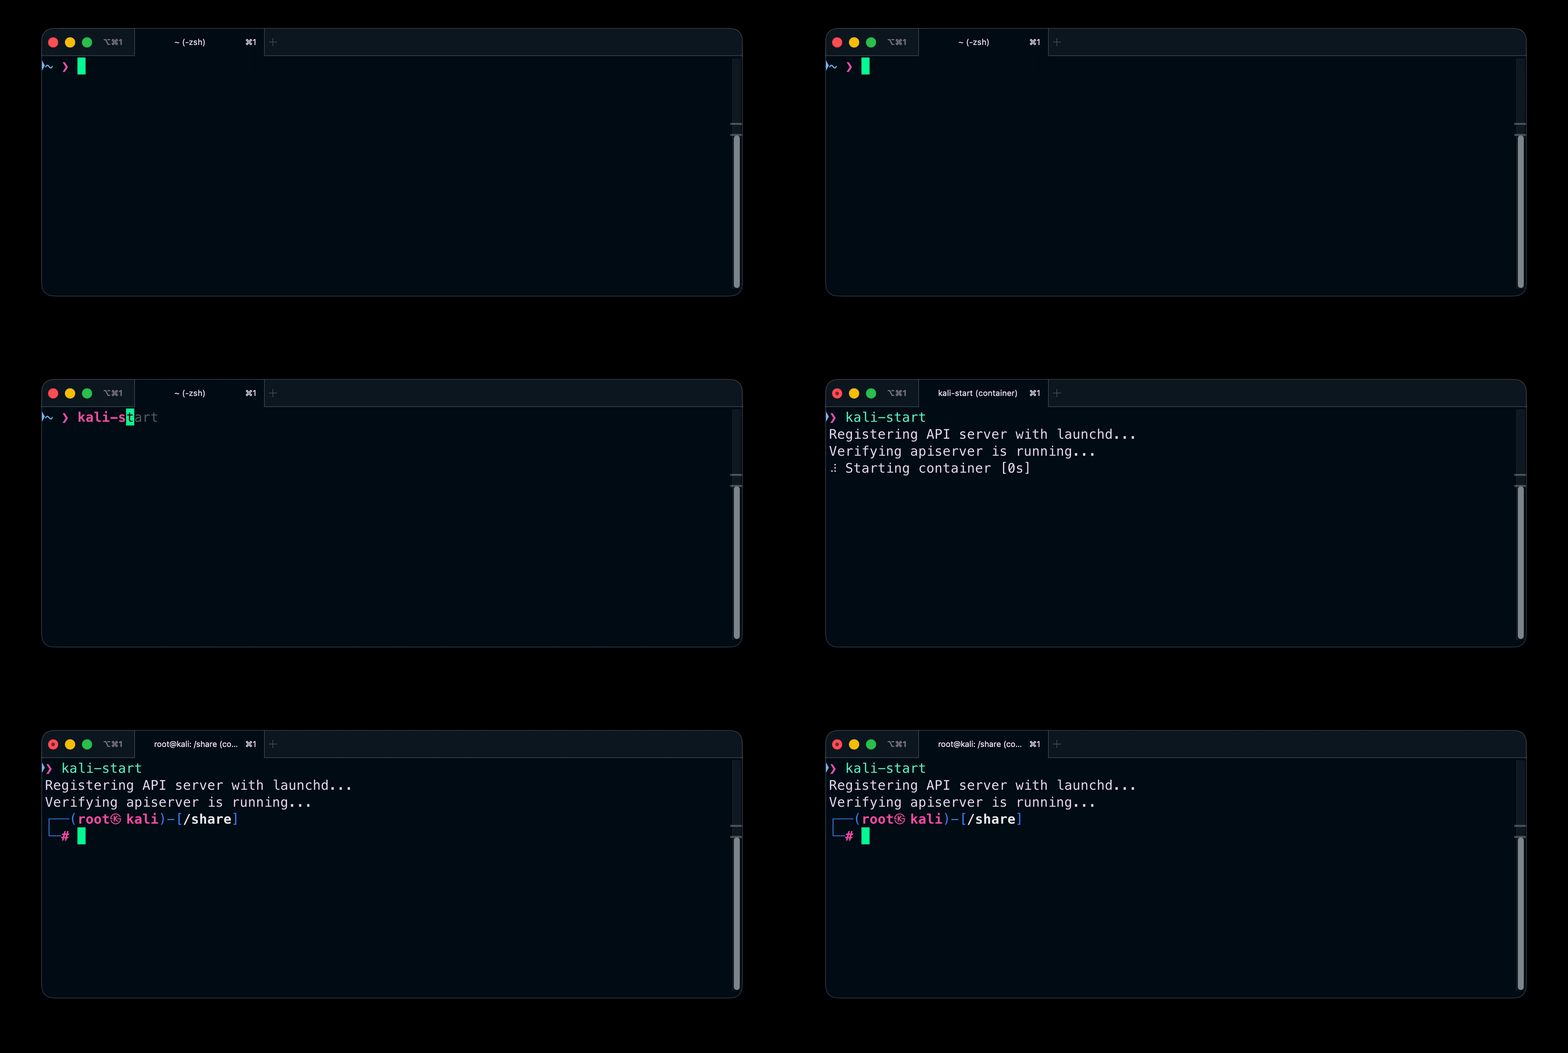
kali-install- removes existing container and image files (if any), pulls the latest image, creates a new container with the parameters defined in the script, and then starts it,kali-start- starts the container (if it was previously created using kali-install),kali-shell– opens an additional shell inside the currently running container.
Add aliases at the end of your .zshrc file (remember to adjust the script path):
alias kali-install="~/Scripts/kali-container.sh install"
alias kali-start="~/Scripts/kali-container.sh start"
alias kali-shell="~/Scripts/kali-container.sh shell"
Final words
And that’s pretty much it. You now have a quick and lightweight way to run Kali Linux on Apple Silicon without spinning up a full VM every time.
Feel free to tweak the setup, add your own tools, and adapt it to your workflow. The goal is speed and convenience during real-world pentesting work.